How to Plan Two Names on an Open Heart Birthstone Cuff
Plan a two-name birthstone cuff with an end-by-end worksheet that keeps each engraving, month, position, and final order summary correctly paired.
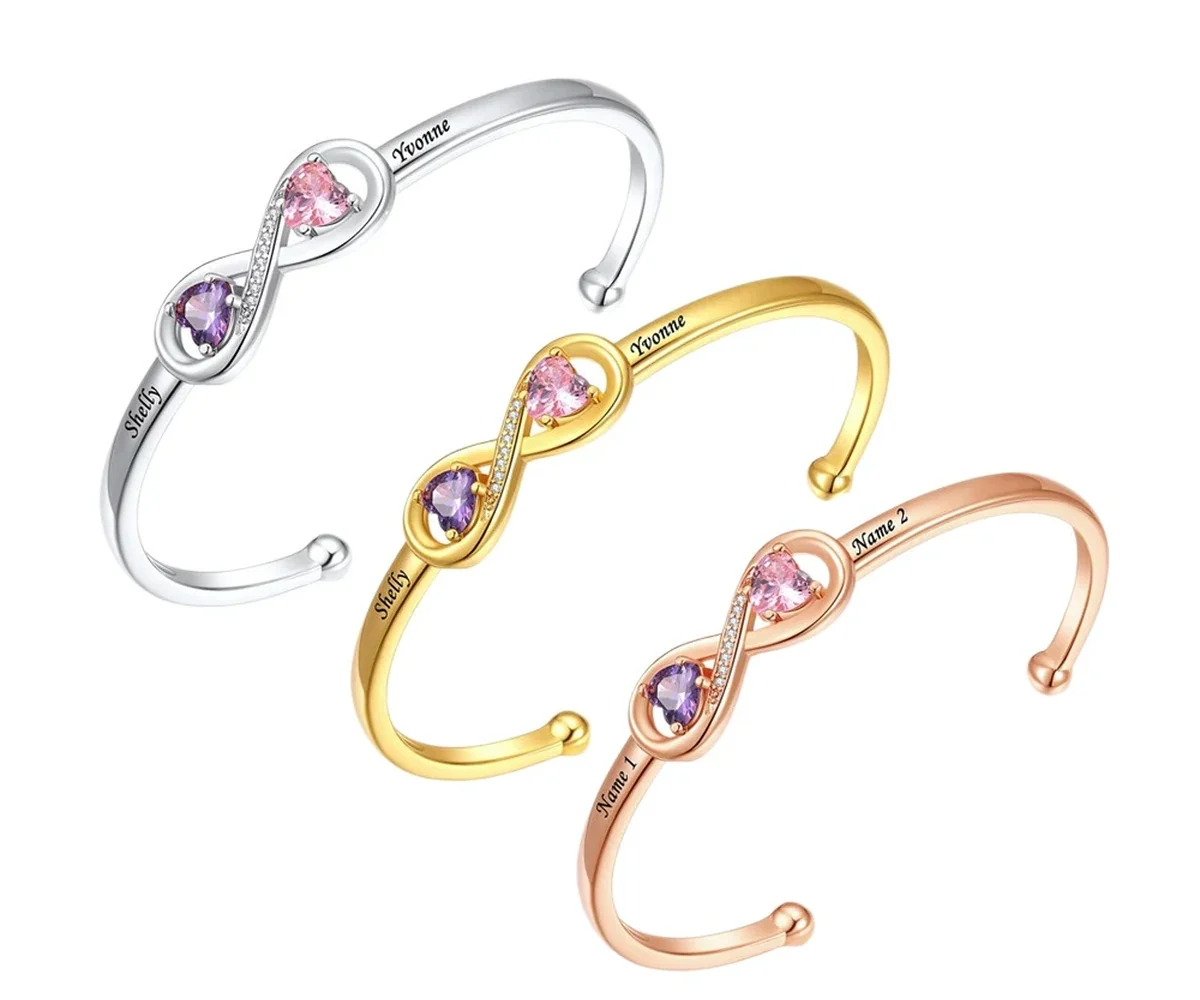
A two-name birthstone cuff layout should be planned as two fixed pairs: Name A with Month A, and Name B with Month B. Decide which person belongs on each end before using the product form, then preserve that assignment through the final order review. The method matters more than calling one end “left” or “right,” because photos and wearing orientation can reverse what you think you see.
Label the ends before assigning people
Draw a simple open curve on paper and label its ends A and B. Do not begin with left and right. Product images may face the viewer, a mirror can reverse the view, and the cuff can be examined from different directions. Stable letters make the planning sheet easier to compare with sequential fields.
Now list the two people. Choose an ordering rule the recipient would recognize: giver then recipient, older then younger, alphabetical, or another shared convention. The rule does not change the value of either person; it only prevents an accidental swap.
If the order is emotionally sensitive, ask. A surprise is still possible after the relationship logic has been confirmed.
Create two complete name-and-month pairs
Write the exact engraving and verified birth month on the same line. Never build one list of names and a separate list of months without position labels. Parallel lists are easy to transpose when attention moves between controls.
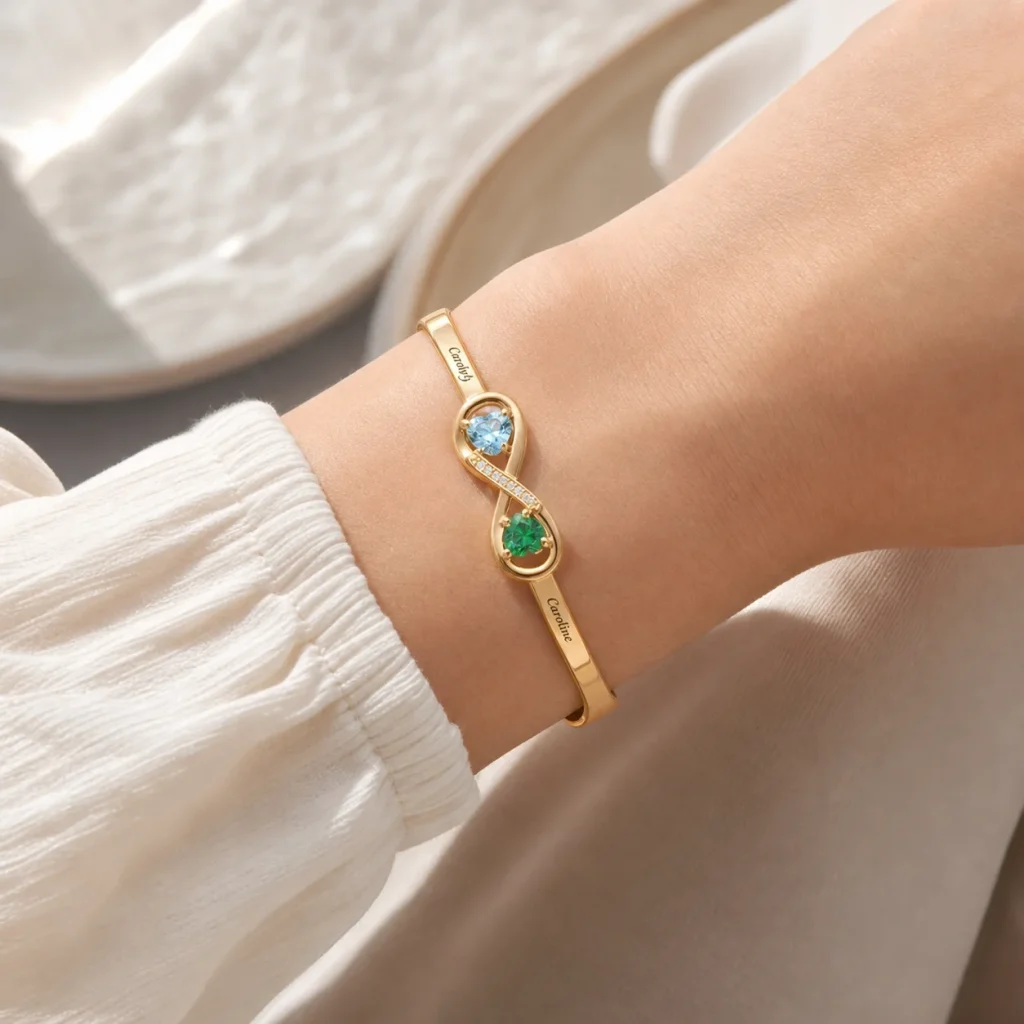
The Open Heart Birthstone Cuff has a fixed two-person configuration: two engraved names and two selected birth months with simulated birthstone accents. It offers gold, stainless-steel, and rose-gold tone choices on a plated copper-base open cuff. It is not a one-name design with an optional second field, so both positions should be intentional.
Use the family birthstone month guide if you need to confirm the customary calendar association, but enter the actual January-through-December label from the product selector.
Run the assignment worksheet in both directions
Complete this four-line review:
- End A: exact name → actual birth month.
- End B: exact name → actual birth month.
- Month A → the person named at End A.
- Month B → the person named at End B.
The first two lines check entry. The last two check reversal. Read the month words aloud rather than relying on colored thumbnails. Then spell each name letter by letter from a separate source.
Take a screenshot or save the available final summary only after all four statements agree. A sample product image is not a personalized preview and should not be used as proof that the names or ends are correct.
If two people are reviewing the order, use a read-back method. The first person reads “End A, name, month” from the worksheet; the second points to the matching fields in the form. Then switch roles for End B. This is more reliable than asking, “Does everything look right?” because it forces each piece of information to be matched explicitly.
Keep the worksheet after submission. It provides a plain-language record of the intended pairing even if the visual orientation changes when the cuff is turned, placed on a wrist, or viewed in a photograph.
Choose tone after the information is settled
Tone is a visual decision, while name-month pairing is an accuracy decision. Finish the accuracy layer first. Then compare gold, stainless-steel, and rose-gold tone with what the recipient already wears. The tone names describe plated appearance choices; they do not rewrite the underlying personalized structure.
Do not change the name order simply because one accent appears stronger beside a particular tone in a photograph. Lighting and displays can shift apparent color. If visual balance is important, compare the whole design, but keep the written month assignment as the authority.
Review quantity separately from the two-person structure. One cuff contains two personalized ends; a quantity of two would mean two configured items, not one cuff with two names. Reading the cart summary this way prevents the number “two” from being interpreted in two different fields.
Amorieva’s personalization process overview explains why entered details should be confirmed before submission. When a field or orientation is unclear, pause and consult the current customer FAQ rather than encoding an assumption in the note area.
Common questions
Which name should go on the first cuff end?
Use a rule meaningful to the recipient, such as recipient first, alphabetical order, or a shared family convention. The critical step is to record the rule and keep the matching month with that name.
Can I order the cuff with only one name?
The current configuration is designed for exactly two names and two birth-month selections. If your story has one person or more than two, choose a product whose live fields match that count rather than leaving a required relationship unclear.
Will the product photo show the final left and right positions?
Do not rely on a sample image as a personalized orientation proof. Use End A and End B in your worksheet, follow the field order shown, and review the final text summary available before submission.
Protect the pairing from start to finish
A two-name cuff has little room for ambiguity: every end carries half of the relationship. Label the ends, build two complete pairs, reverse-check them, and only then choose the visual tone. This small worksheet turns a potentially confusing left-right decision into a clear information record that can be checked by another person without guessing.