How to Untangle a Personalized Necklace Without Pulling the Charms
Work through a light personalized necklace tangle on a clean, dry surface using slack and gentle chain movement while avoiding force on charms and connectors.
To untangle a lightly knotted personalized necklace, work on a clean, dry, flat surface in good light. Open the clasp when practical, identify each chain path, create slack around the outer loops, and move the chain gently rather than pulling an engraved charm. Stop if the knot tightens, a connection point bears force, or the chain appears damaged.
Prepare a surface that prevents loss
Choose a table away from sinks, floor vents, children, and pets. Lay down a clean, plain, soft cloth that contrasts with the chain. The surface should be dry and large enough for the necklace to spread without hanging over an edge.
Wash and dry your hands, then remove rings or other items that could catch the chain. Use bright, even light. Take one overview photo before moving anything; it can help you remember how separate pieces and chains were arranged.
Do not apply oil, lotion, household cleaner, or an unverified jewelry product to make the knot slippery. Residue adds another care problem around plated surfaces, engraving, and accents.
Find the chain path before loosening it
Set the personalized element down instead of holding the necklace in the air. Trace the chain from the clasp toward the knot, then from the other end. Identify whether the tangle contains one chain looped around itself or more than one necklace intertwined.
When several pieces are involved, separate any completely free chains first. Keep each clasp and pendant aligned with its own path. The goal is to reduce the number of moving parts before touching the central knot.
If a connection point, jump ring, or chain section looks bent, split, or unusually stretched, stop. Untangling guidance is not repair guidance.
Count the personalized pieces before beginning. With a two- or three-piece set, verify that every engraved heart and chain is present. A complete inventory prevents a freed section from being moved aside and later mistaken for a missing piece.
Create slack instead of pulling the ends apart
A knot tightens when opposite ends are pulled. Use fingertips to nudge the outermost loop inward and make it larger. Move only a small section at a time, then set the chain down and reassess.
Work from a visible outside loop toward the center. If the loop closes, reverse the last movement rather than pulling harder. Keep the clasp, charm, and personalized heart resting on the cloth so they do not become handles.
Patience matters more than speed. A short pause can make the chain path easier to see and prevents repeated movements made from frustration.
After each successful movement, trace the path again from clasp to pendant. Do not continue from memory, because a loop that looked central may now be free. Resetting your view after every step keeps the work local and gentle.
Protect the personalized elements
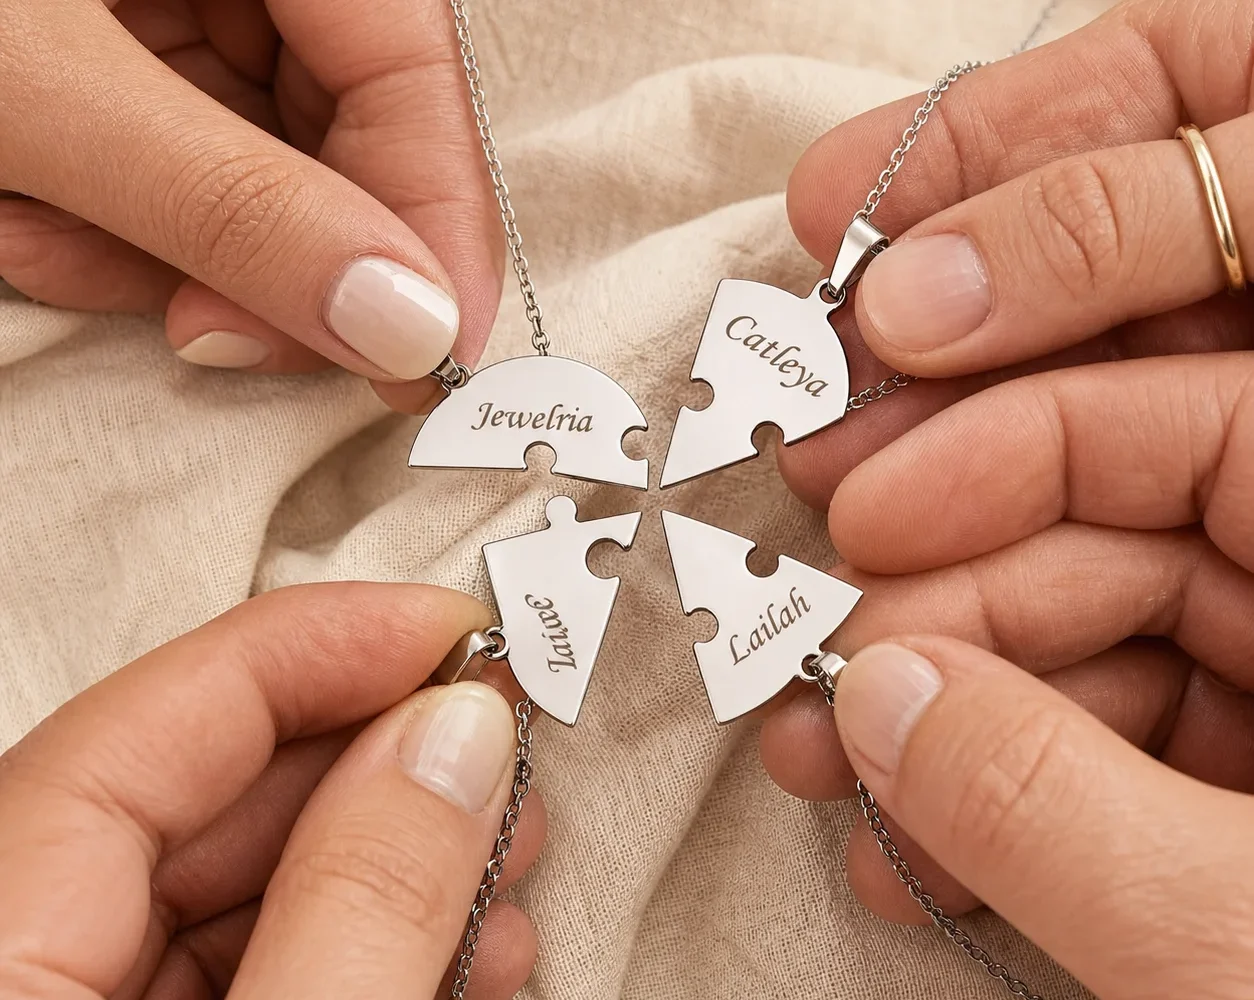
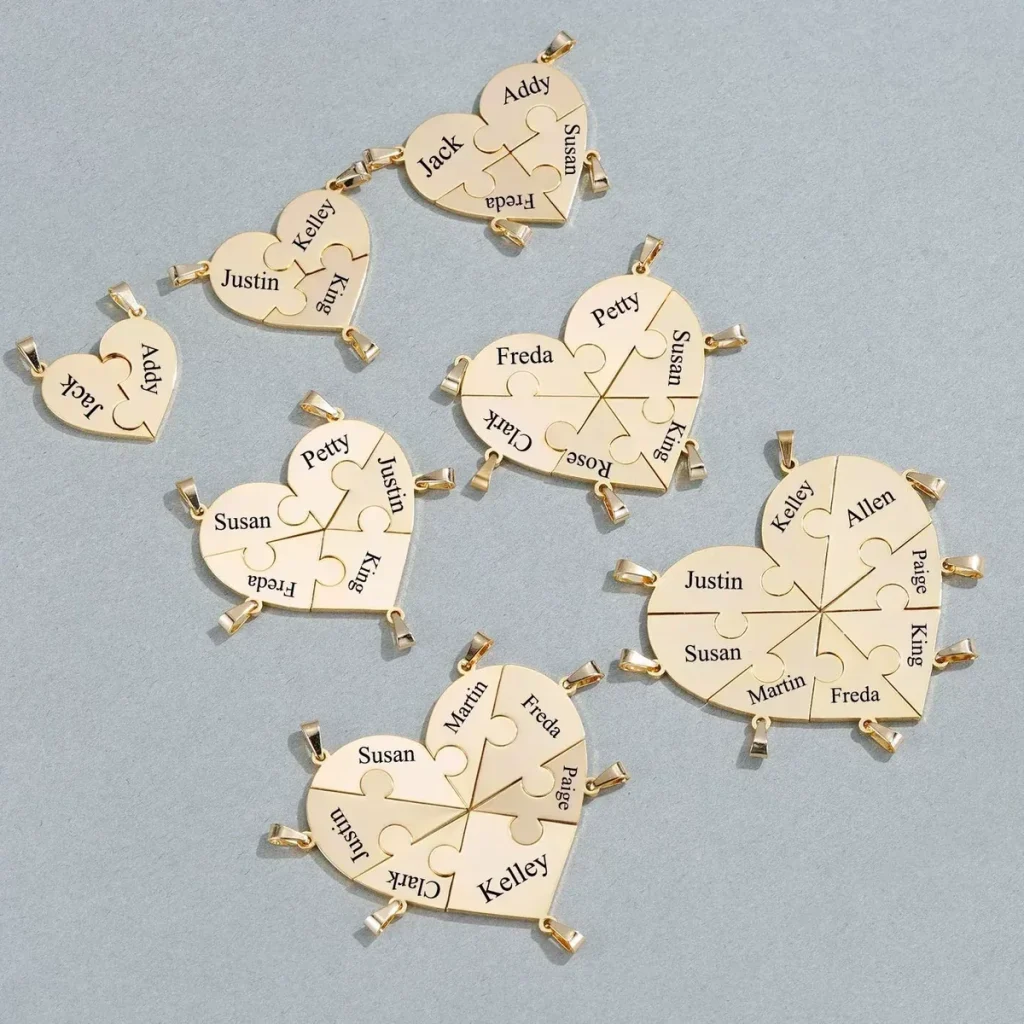
The Together Heart Puzzle Necklace uses two or three separate interlocking heart pieces with one engraved name per piece. Each section belongs to its own wearable necklace. Keep the hearts flat and trace each associated chain independently.
Do not pull two heart pieces in opposite directions to separate tangled chains. The visible heart relationship is not a mechanical tool. Guide the chain itself and avoid pressure on engraved surfaces or connectors.
If several puzzle necklaces were stored together, label each freed chain and wearer before moving to the next. This prevents the correct name piece from being returned to the wrong person.
Keep the two- or three-piece relationship map nearby. The hearts can interlock for the shared concept, but each finished necklace should return to its intended wearer with the correct engraving. Untangling and assignment are separate checks.
Know when to stop
Stop when gentle fingertip movement no longer increases slack, the chain begins to kink, a connector takes tension, or you cannot see which path crosses next. Place the piece in a dry container and seek appropriate repair help rather than escalating force.
After a light tangle is resolved, inspect the chain and connection points without stretching them. If anything appears altered, do not assume it is ready for wear. Consult the current product guidance for the next step.
Wipe gently with a soft lint-free cloth and follow the Amorieva care instructions; untangling does not require soaking or a chemical cleaner.
Common questions
Should I pull both ends to open the knot?
No. Opposing force commonly tightens a light knot. Keep the piece flat and move slack through one visible outer loop at a time.
Can I use the pendant to hold the necklace steady?
Let it rest on the cloth rather than gripping it as a handle. Work on the chain path and keep force away from personalized elements and connectors.
What if two necklace chains are tangled together?
Trace and label each chain, free any outside loops first, and stop if the paths or connection points are unclear. Not every tangle should be handled at home.
Store each closed chain separately
Fasten the clasp before storage, lay or hang each necklace so the chain remains extended, and keep separate pieces in individual dry compartments. The current collection contains different pendant and chain structures, so storage should follow the actual product rather than one universal pile. A clear endpoint prevents the next light tangle more effectively than a faster untangling technique.
Before closing the storage area, take a quick look for chain crossings and confirm that no pendant rests on another plated surface. A ten-second layout check can catch the beginning of a tangle while every chain is still loose.